From traditional Ayurveda to French cooking, ghee or clarified butter is used. Its also used in many international cuisines. Some of the other names include yellow butter, brown butter, etc. My ignorance I say, I thought ghee was only limited in India and few neighboring countries.
Some recipes you may like:
Homemade white butter from whipped cream
Vegetable biryani | Hyderabadi dum biryani
You can feel the tremendous difference in texture and taste when making parathas and rotis (Indian bread) with ghee. You can also sautee and cook basmati rice with ghee. Hmm irresistible, I must say.

Difference between Clarified Butter vs. Ghee vs. Brown Butter
When the butter melts, it goes through different stages. Different stages give a slightly different flavor.
What is clarified butter?
When the butter melts and the milk solids start separating, you will see white foam on the top. You can skim off the foam with a spoon, and the beautiful yellow liquid is clarified butter.
What is ghee?
To make ghee, continue the cooking process till you see the milk solids turning light brown. The ghee has slightly more flavor and nuttier taste compared to clarified butter.
Also, the shelf life increases when you cook a little longer.
What is brown butter?
When you let the milk solids turn brown, it gives a caramelized flavor. Now, this is brown butter, and you can use this in cookies and baked goods instead of butter to enhance the taste.
What is the secret to making ghee or clarified butter?
If you are looking for the perfect recipe to make ghee or clarified butter, all you need is patience, about 10 to 15 minutes, and knowing the exact stages.
1st Stage:
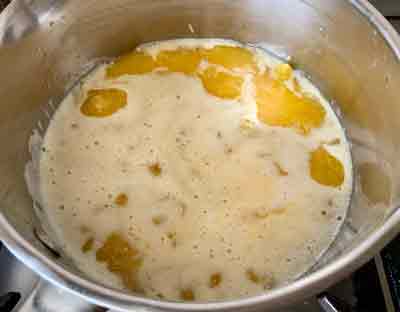
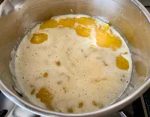
Melt the butter on medium heat in a heavy bottom pan. Once it melts, turn the heat to low. Let it simmer gently for about 10 minutes. You will see white foam on top.

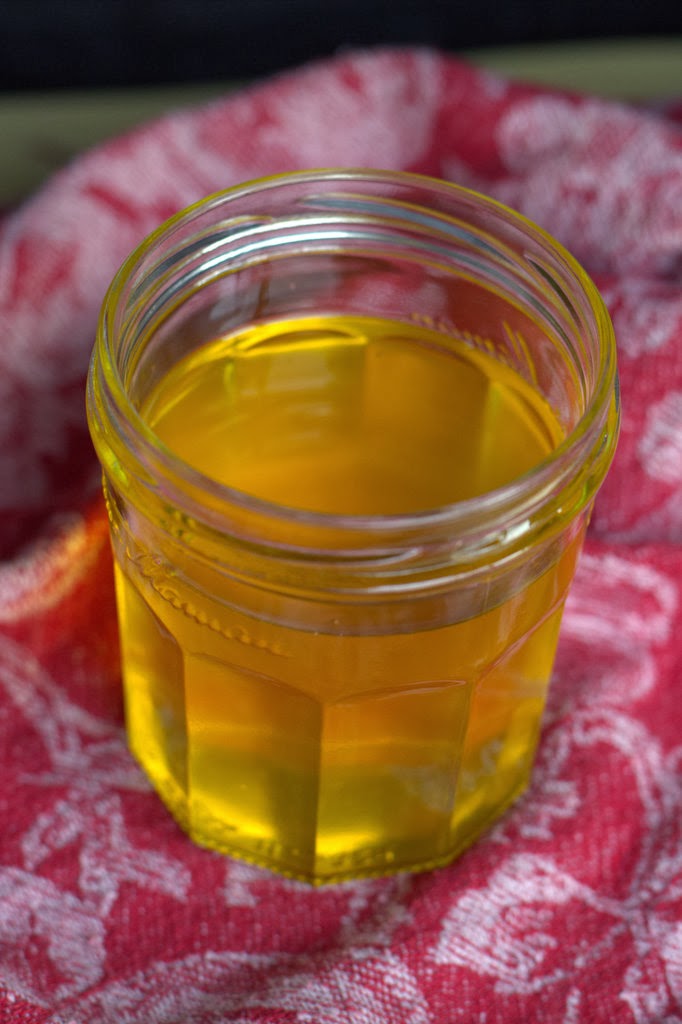
Skim the foam with a spoon. The golden liquid is clarified butter. Carefully strain into a clean glass container and store it at room temperature.
2nd Stage:
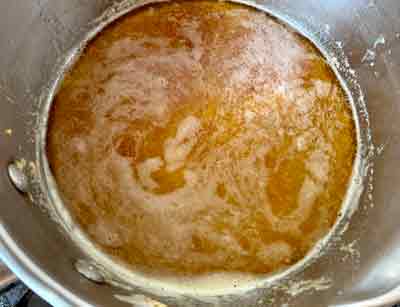
If you want to make ghee, increase the flavor and shelf life, continue cooking the ghee till you see a white crust on top.
Gently move it with a spoon to the side of the saucepan to check that the ghee is not browning. Do not stir.
3rd Stage:
The crust will slowly start setting to bottom, and you will see clear bubbles forming.
4th Stage:
Please turn off the heat, move the pan to your counter, and cook with the residual heat. Keep a close eye so that it doesn’t brown. The entire process from start to end may take about 10 to 15 minutes.
5th Stage:
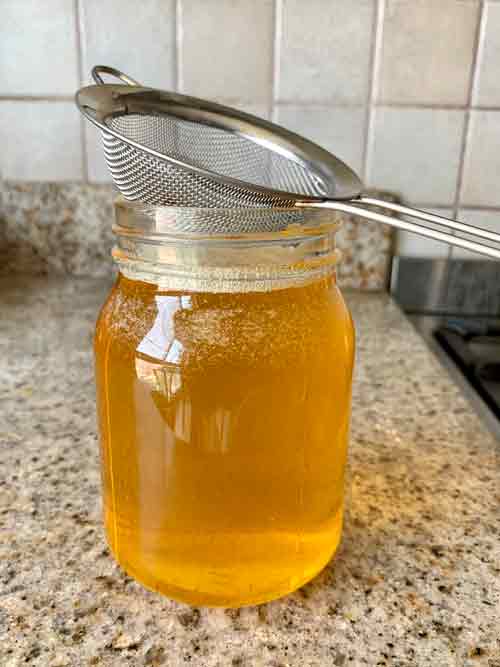
Carefully pour into a clean heatproof glass container. If you cannot pour directly, pour using a heatproof ladle.
The shelf life of ghee | Clarified butter:
Since the milk solids are removed, ghee has a longer shelf life. It stays good on the kitchen counter for up to 3 months.
You can store clarified butter on the counter for up to a month. Store it in the refrigerator for up to a year.
Ghee or clarified butter can go rancid, so to increase the shelf life, always use a clean spoon free of any moisture.
As the ghee sits on the counter, it turns into tiny granules. It is a good sign. It can also solidify in colder climates.
Homemade clarified butter vs store-bought
Homemade ghee is cost-effective and way cheaper compared to store-bought ghee.
You cannot beat the flavor of homemade ghee or clarified butter.
Lactose intolerant and paleo diets
Can you make ghee or clarified butter from whipping cream?

Ghee or Clarified butter is made by separating water and milk solids from butter. Ghee has a longer shelf life and is used to flavor lentil curries, make savories, and desserts for auspicious occasions in Indian cooking. Clarified butter can also be used to make a sauce and baking. It has a beautiful aroma, a nutty taste, and a high smoking point.
- 8 oz or (226gms) or (2 sticks) Unsalted butter (Makes about 1 cup of ghee)
-
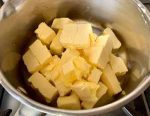
Cut butter into 1/2 inch cubes or leave it whole and place it in a heavy bottom saucepan. Turn the heat to medium till all the butter melts. This takes about 2-3 minutes. Once the butter melts, turn the heat to low, and keep checking in between.
-
Once you see white foam, skim the foam with a spoon. The golden liquid is clarified butter. Carefully strain into a clean glass container and store it at room temperature.
-
If you want to make ghee, increase the flavor and shelf life, continue cooking the ghee till you see a white crust on top. Gently move it with a spoon to the side of the saucepan to check that the ghee is not browning. Do not stir.
-
The crust will slowly start setting to bottom, and you will see clear bubbles forming.
-
Turn off the heat, move the pan to your counter, and let it cook with the residual heat. Keep a close eye so that it doesn't brown. The entire process from start to end may take about 10to 15 minutes.

-
Carefully pour into a clean heatproof glass container. If you cannot pour directly, pour using a heatproof ladle.

-
If you want brown butter let it simmer for an additional 5 minutes till milk solids turn brown. It gives a caramelized flavor. You can use this in cookies and baked goods instead of butter to enhance the taste.
Ghee or clarified butter is stored at room temperature.
Do not stir during the melting process.
If the quantity of butter is increased, the cooking time will increase too.
Like butter and oil, use it in moderation.
The shelf life of ghee | Clarified butter:
Since the milk solids are removed, ghee has a longer shelf life. It stays good on the kitchen counter for up to 3 months.
You can store clarified butter on the counter for up to a month. Store it in the refrigerator for up to a year.
Ghee or clarified butter can go rancid, so to increase the shelf life, always use a clean spoon free of any moisture.


 HEY THERE! HAPPY TO SEE YOU 🙂