This Olive garden garlic bread is soft, buttery, garlicky and worth making. The warm bread out of your oven will be a crowd-pleaser.
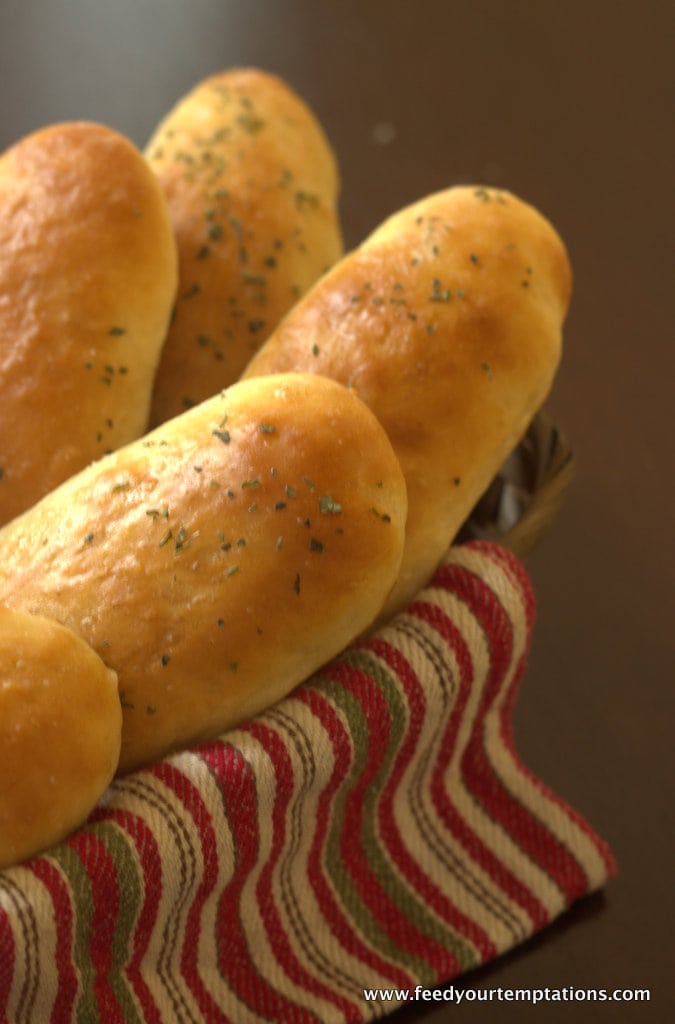
The olive garden garlic bread is inspired by the olive garden restaurant breadsticks.
Is there anyone who doesn’t like garlic bread?. I don’t think so. Soft, garlicky, buttery. Oohhh Irresistible. How many of you go to olive garden for their bread or red lobster for their famous cheddar bay biscuits. I do because I am so much in love with both.
Similarly the gorgeous pull-apart bread|pav and soft buttery garlic rolls are equally good.
If you like baking your bread, then this is easy and if you have a stand mixer then making this is a breeze.
Finally I inaugurated my kitchen aid mixer with our favorite garlic bread. I got one after a year of blogging.
I tend not to use things after I get them. Apparently, I would go for my yoga regularly, but after I got my yoga mat, I went only once. Similarly, I got a waffle maker which I have used precisely twice and needless to say about the juicer, which was consuming my kitchen space, so it is finally resting on our garage shelf. After all this, I thought that I would get a stand mixer, only if I am persistent with my baking and when I absolutely need one.
What can I use in place of a stand mixer?
Past few years, I have used my hand mixer for cakes and cupcakes, a whisk, wooden spoon, and my hands for kneading. Sometimes, using hands works better, since you don’t tend to over mix the ingredients, which often results in cracked or dense baked goods.
During my vacation in India, because of the lack of baking tools, I have used my hands for mixing cakes, and the cake turned out just the way it would with a machine.
Kneading roti dough and bread dough are similar. So I hope you folks give this a try.
Some posts can take, forever to compose, like this one, which needs detailed explanation and my fingers are too lazy to move, plus the gloomy weather is making me drowsy. Oh boy, I need a coffee badly.
You can tell if the texture of the bread is right by the tiny holes. Taste matters, but so does texture.
How to make olive garden garlic bread?
Step-by-step images

To start the process, In a bowl, dissolve yeast and sugar in warm water and stir the liquid. Let it rest for 10 minutes. I heated water in the microwave for 50 seconds.
The liquid will start frothing. Once that happens, add salt, oil and stir well. Then attach a dough hook, add half of the flour and then slowly add the remaining flour until the dough comes together.
If you are kneading the dough without a stand mixer, then use a wooden spoon and mix till the mixture is slightly thick. Then transfer onto a floured surface and knead in the remaining flour until the dough is soft.
The dough will be elastic and sticky but should be workable. Don’t try to add more flour as the bread could end up dry and dense. Coat the bowl and the dough with melted butter, cover the bowl and let this double in size. It will take anywhere from 1 to 1/2 hour, depending on the temperature indoors.
After it has doubled in size, punch it down, knead gently on a lightly floured surface. Flatten it out or roll into a log and divide it into 12 equal portions.
With your hand, roll each portion into a rope about 9 inches long. Transfer to a tray with a non-stick mat and place the dough about 2 inches apart. Cover the rolled dough when working with the new ones, or it will dry out.
Cover with a greased plastic wrap or a kitchen towel and let it rise for another hour.
The dough will double in size. Brush egg wash for golden brown color—Bake in the middle rack of preheated 400 Degrees Fahrenheit/205 Degrees Celsius oven for 11-14 minutes. Brush with melted butter and garlic salt.
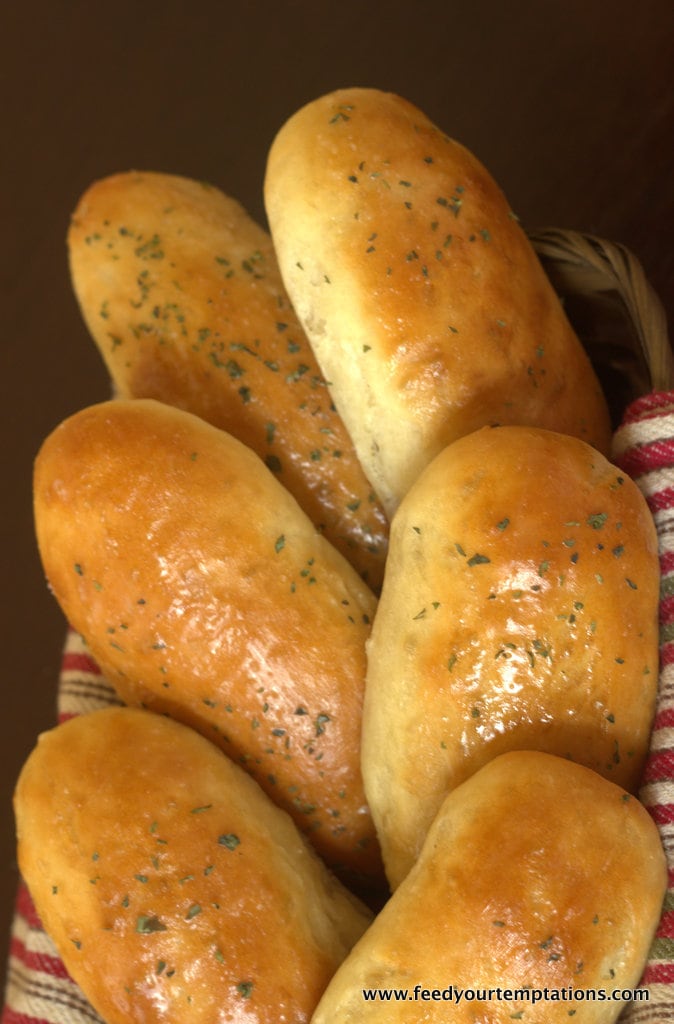
This Olive garden garlic bread is soft, buttery, garlicky and worth making. The warm bread out of your oven will be a crowd-pleaser.
Total proofing time : 2 & 1/2 hours
- 1 cup warm water I heated water in the microwave for 40 seconds
- 1 and 1/2 teaspoon active dry yeast
- 1 and 1/2 tablespoon sugar
- 1 and 1/2 teaspoon salt
- 3 tablespoons vegetable oil
- 3 cups 360 grams and 3 tablespoons all-purpose flour (Might vary by few tablespoons)
- 1 tablespoon melted butter for greasing the bowl
- 2 tablespoons melted butter
- 1 teaspoon garlic salt or to taste Can be substituted with garlic powder and salt
- dry cilantro Optional
- 1 Egg + 1 tablespoon water, beaten well or Milk
-
In a bowl of a stand mixer, add warm water + yeast + sugar. Mix and keep aside for 10 minutes.
-
Once the mixture froths, stir in salt + vegetable oil. Now using a dough hook, add little flour at a time and knead till the dough is smooth and elastic and it comes off the sides.
-
If using hands, mix the wet mixture with a wooden spoon and once the dough becomes thick, transfer onto a floured surface and knead for 6-10 minutes with your hands, gently pressing with the palm of your hands. The dough should be slightly sticky. Don't try to add more flour than needed or it will make the bread dense and dry.
-
Coat the bowl and the dough with melted butter, cover the bowl with a kitchen towel or plastic wrap for 1 and 1/2 hour and let it double in size.
-
You know the dough has proofed well when you press it with your two fingers and the indentation remains. Punch it down, knead lightly on a lightly floured surface. Roll out and then divide into 12 portions.
-
Take each piece and roll it on the surface into ropes about 9 inches long. Transfer onto a sheet with non-stick paper. Place the dough about 2 inches apart. Cover the dough with a cloth or greased plastic wrap when you are working with other sets.
-
Cover and let it rest for another hour till the dough doubles. Brush the sticks well with egg wash and bake in the center rack of a preheated 400 Degree Fahrenheit or 205 Degrees Celsius oven for 11-14 minutes or till the top is golden brown. Transfer onto a wire rack.
-
Mix butter + garlic salt and brush it on the freshly baked bread.
-
Enjoy!











 HEY THERE! HAPPY TO SEE YOU 🙂